Okay, I am super stoked to finally be sharing this. My craft room renovation is complete. Or as complete as it is going to get, for a few months. I still have some minor things that I want to do to it, but on a budget I prioritized what was most important and what was just cosmetic. Yes I want it but it won't change really the function of the room just the appearance.
Okay, so a few pointers here: (It is long but I have lots to say on the subject, if you don't care to read.. please just skip down to the pictures!)
1. Make a plan. A lack of planning can put you waaaay over your budget. When you create your plan think about how your craft. While many things look great in a picture their often not functional for how you may craft. Some for instance like everything out where they can see it while others like things put away. It really just needs to be what works for you. When you make this "plan" keep in mind if it will be child friendly, will a child need a place to craft in there or just to hang out, will you have others over to craft in there or do you ride solo, will the space grow with you. This is important especially if you're on of those who aren't quite sure what you want and need in your craft space to make it functional for you. Make sure you space isn't a major renovation that will be hell to undo. Know your limitations. For instance I live in a rental house, therefore while I adored built in cabinets and more elaborate shelves, there's no way in hell I plan on putting them in, only to remove them when I leave, even if the landlord is okay with some of it.. no way.
2. Make sure you have a budget. Even if it's only 50 bucks. Know what your limits are ahead of time.
3. After you have created a plan, break it up into mini steps. This way you won't get too overwhelmed and will be easier on your budget. I had my room broken into 50 steps. I did them as time would allow. This allowed me to not feel overwhelmed, yet still feel a sense of accomplishment and progress.
4. Once you have a plan, a look, a budget then begin to look for the items you need other than at department stores. Look at Goodwill, thrift stores etc. for the pieces that you could get for a fraction of the costs and renovate them to fit your style/theme/wants. Not everything needs to be matchy matchy. I have a taste for lots of different colors that crab me. While I like those rooms that are all tones beautifully, I prefer a lot of color. While I want tons to match to a degree I'm totally okay with it looking like a lived in room. Not like a magazine when you see a living room or craft space where everything looks perfect... that's soo not me. Keep in mind as well if you want to be changing your room often or if you want something that can be timeless. By this I mean.... over the years we have the "put a bird/mustache/banner/finger/restroom people/octagon/tree/bicycle/ blah blah blah. be careful using whatever the trendy things is unless it's temp. decor or your okay with changing it... as these things change each year.
5. KISS- yes the age old kiss. Keep It Simple Stupid. With Pinterest and everything else it's often hard to not get caught up in all of the pretty things out there and think you need it all. I think of it like a car. When you set out on your own, likeliness is your first house and car didn't have "EVERYTHING" you wanted. You got something in your price range and something that worked. You didn't get all of the bells and whistles you saw. Your craft space should be ever evolving and growing with you. Now if you just have ball loads of cash to work with, by all means do whatever you want, but if your an average Joe such as myself- work in manageable stages. My list is below.
6. When you feel yourself getting stress. Step away!!! You will see some pictures from the "during" process where I wanted to bang my head into the wall wondering if and how it was all going to work! At that moment.. I stepped away. had a few glasses of wine and came back. HAHA. Basically you know how much you hate to move?!?!?! Well this is like moving your favorite room in the house... it FREAKING SUCKS> It's not fun to move everything someplace.. and in my case to be faced with the fact that you just have way more stuff than anyone logically should need. HAHA But I promise you in the end it's super worth it. But you may not feel that way.. I promise.
7. Be Flexible with the plan. I started with one nicely mapped out plan with dimensions and all sorts of great OCD things. Then as the plan got set into motion all sorts of things happened. For instance I was behind on doing the things I wanted with my furnace going out during a few snow storms here. Then... Once I got some of the idea implemented in the room.. I wasn't happy with them. I changed the plan! It wasn't working.. so I didn't force it into submission. I rolled with the punches... which was hard at once point knowing something I wanted.. but didn't need and couldn't make work had to go.
8. When you are clearing out the room pretend.. just for the sake of pretending that you're a HOARDER! That's right.. it's just pretend so it's okay- Now pretend like you need an intervention... okay are you there? Good, now make three piles A GIVE PILE and A TRASH PILE and A STORE PILE. Now remember we're still pretending your on that great show where all of your stuff is going to eat you and they won't find the body for days! GO!! Don't keep that piece of trash you were saving..because it's ephemera And if your going to keep it.. great find a home for all your trash. lol Just use some smarts here guys and gals.
Make a list of what's most important to you.
Here was my list:
A. Large island style table that enables me to have storage yet be able to stand or sit. Allows large projects to be spread out and others to work at it with me.
B. Items I used often to be close to me
C. Lots of things showing- seeing products helps motivate me
D. Hidden storage for items less used.
E. Windows not blocked for natural light to come in. Before they had crap all in front of them and I never had good lighting.
Okay, so now please have a wonderful time going through the pictures below. If you have any questions please don't hesitate to ask.
 |
| BEFORE: Left side of the room. Also my daughters craft area. |
 |
| BEFORE: |
 |
| BEFORE: that large board there is hiding yet another desk that was my die cutting table. But I never really used it as much as bringing the stuff over to my primary desk. |
 |
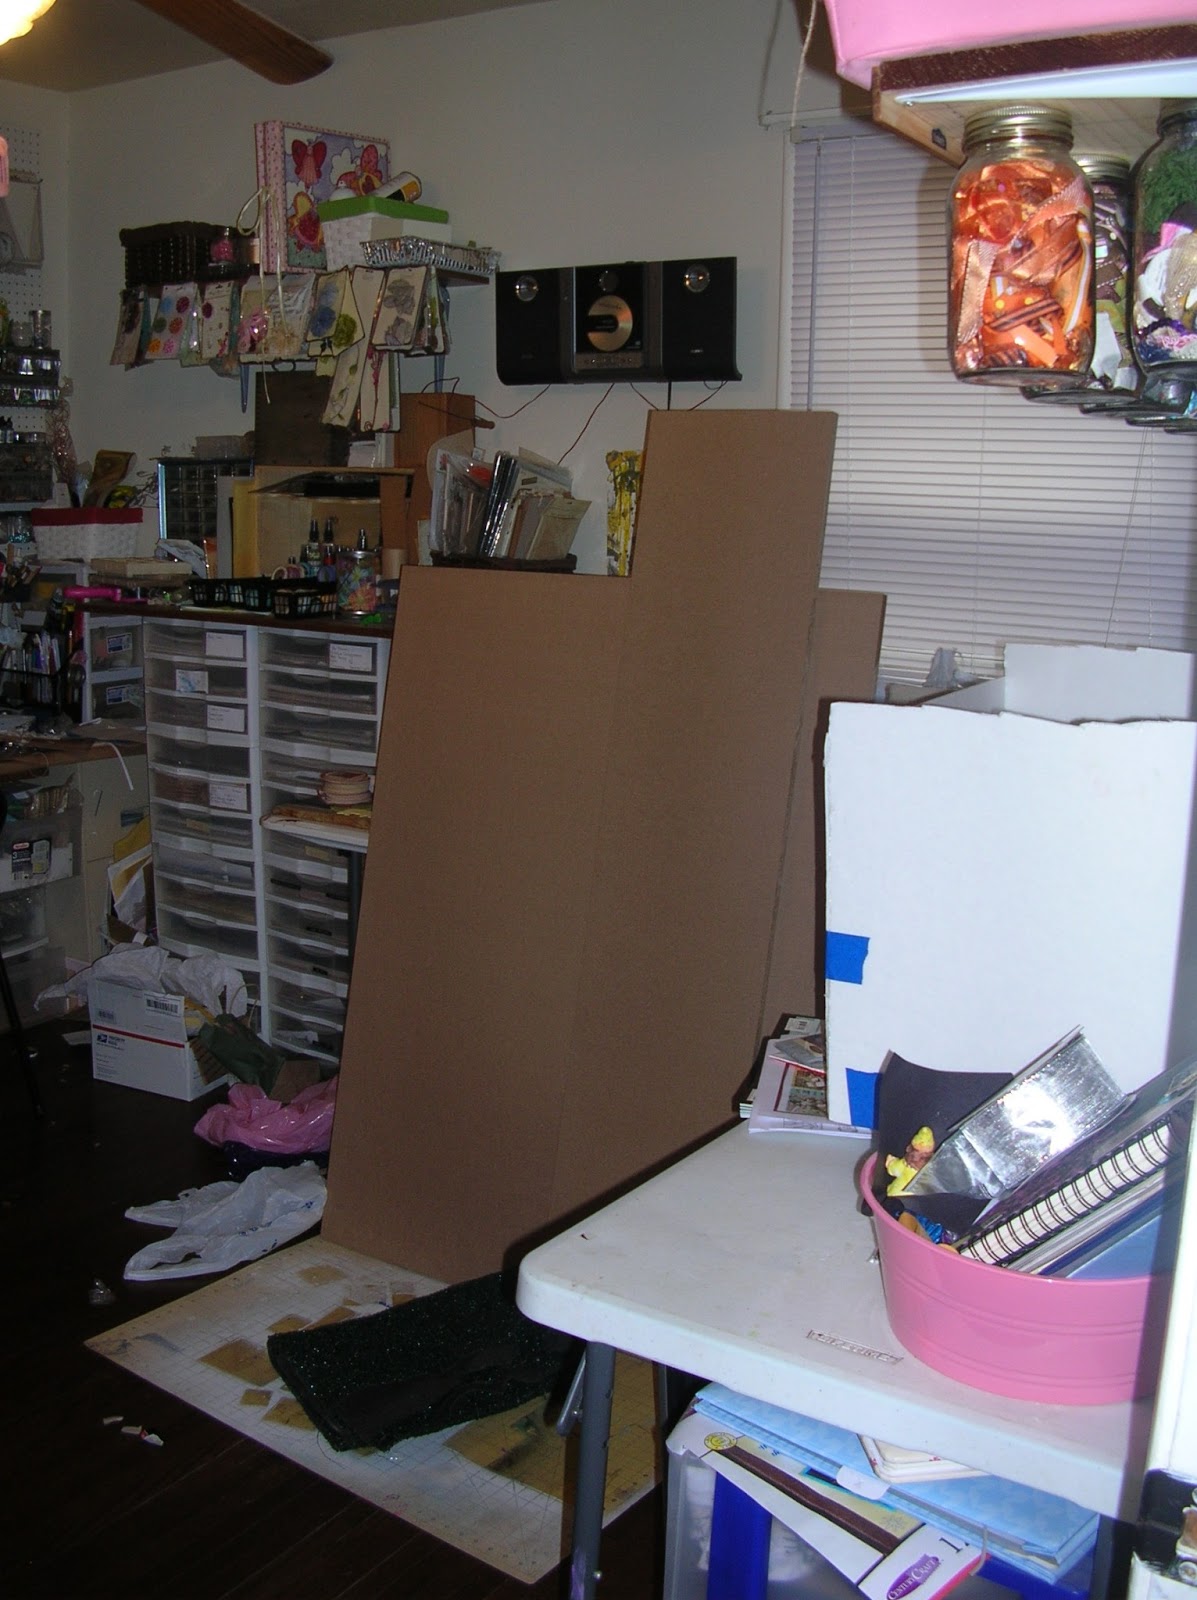
| BEFORE/DURING: Be prepared for things to sit everywhere but in the room. My hallway as well as living room .as seen in the pic above.. housed a lot of stuff for about 2 weeks, while I sorted things out. |
 |
| DURING: This is that point where you start to freak out, wondering if this is really going to work and making adjustments to plans and ... you have a moment with the HOARDERS intervention group! |
 |
| DURING: Starting to move things in the room and seeing how things look. |
 |
DURING: sorry for the blurry picture but it's the only one I have from this view of during the sorting and deciding on new storage areas for everything. You have to remember I am going from 3 work desks to 1. And under each desk houses storage units that were no longer going to be used! This was the ubber stressful part for me.
And now, the reveal. |
 |
| The shelf holds some odds and ends of things to create with and that are created. The stoarge bin there will no longer be there soon but it hold keys and metal findings. The wooden shelf I found a few years ago at a garage sale for 2 bucks.. and I love it. It holds my embossing powders. |
 |
| See through storage drawer units- these are something I kept... I don't love them. I barely like them. However they serve their purpose until I have saved further funds to get some nicer ones or decide to paint the. In the basket to the left top are my thickers. |
 |
| I really wanted a way to let my two type drawers to sit out. I know the way they are right now is just temporary until I get some new bookcases... prolly at the end of the year for them to sit on top of. I adore these babies. With all of their little compartments that work just great for all my findings. |
 |
| My peg board stayed the same. I moved some of the paper under it. I also don't use the clip it up alot right now and have been considering having it hold my clear acrylic stamps and putting all of the bling on it currently in a basket... but we'll see how the room functions for a while for me first. |
 |
| Here is one of the shelves. It holds a bin with card making things in it, spray paints, and a large binder with prima flowers. You can see that HERE and HERE |
 |
| This wall still needs some further love but for now it functions as it needs to. Things I don't need often but want to be able to see to remember I have it. |
 |
| The tutorial for this shelf is HERE |
 |
| Adore all of the natural light coming in now! |
 |
| Cute cage i got for Christmas that for right now houses some art journals. Below it are my beloved friends the gnome and the penguin... hahaha Don't judge me! |
 |
| Here are the end caps of the desk. Each basket or shelves is a home for something. I did come to the conclusion that I have more tape.. tapes of all kinds than anyone should be allows. |
 |
| This is he other end cap shelf of the desk. Here I choose to keep my mini albums on 2 shelves- the ones waiting to be completed. A box of ephemera ink pads, mixed media funness, spare books I use pages from, journaling items, alcohol inks, embossing folders and some extra glues! |
 |
| From left to right. I have my stencils, my word and date stamps, my Tim Holtz crackle paints, tapes, rolodex items, punches, kraft paper items, more flowers and more tapes! |
 |
| This is a recycled piece. I found it under one of my filing cabinets. I was using it to make a shorter filing cabinet be as tall as the other. I'm not really sure where it came from. However, it was made of great wood so I painted it up! Added some toilet paper rolls to the insides to hold my paint brushes and so forth. |
 |
| These are things that I go to often. |
 |
| After getting the room all set up I put the table top onto the shelves and added the final touch. My antique meter and yard sticks to the sides as a form of trim. After seeing my mason jar shelves I'm sure this is no suprise to you. I love those things and it's dual purpose because I can use them to measure as well. |
 |
| Some trimming was needed as my desk is 3 ft by 5ft. |
 |
| I used Helmar adhesive as well as some tiny nails to make it stick. |
 |
| And here it is!! I adore it! |
 |
| Add caption |
 |
| I adore the openess of the room now and all of the light coming in! |
 |
| I repurposed this little guy to hold my paints and mists right below my feet. |
 |
| I added some little hooks to hold some items off my desk but very accessible. |
 |
No room is complete with out a Steeler!
Leave a comment on this post and on Monday I'll pick 4 winners to receive some MAYA ROAD prizes! |


I love that it's so eclectic and not all matchy-matchy. I see these gorgeous crafting rooms with the matching furniture, shelving, etc and it always looks so pretty but isn't me. I like a more eclectic look, as well. I like the idea of adding your rulers to the side of the table, and putting hooks in the shelving to make it even more functional. Great job!
ReplyDeleteI live in a rental house s well and am tight on space. I really enjoyed reading what you had to say about planning, as well as seeing what you were able to do with limited space as well. I look at all those "perfect" rooms and feel envious and depressed. I looked at yours and felt happy and like it is something I could accomplish with some work and planning, so thank you! I hope you enjoy your new light filled space and create lots of great crafts and memories in it.
ReplyDeleteGreat room! I really like your desk/work table. The rulers really were a good idea and so fun!
ReplyDeleteLove your work table, brilliant idea! You put in a lot of thought and effort and I'm sure it will all pay off. I really need to work on my craft space and figure out what works best for me. Thanks for the inspiration.
ReplyDeleteLove the make over looks great. Love the thought process behind it all. I too have a little one I have to make room for. It's alway nice to take the end result into consideration when planning
ReplyDeletewow! an amazing transformation! And boy do you have a lot of stuff. I wish I had a separate room to work in so that I could do better setting some of my stuff up the way you did yours. Love the mason jars.
ReplyDeleteAt first, I thought, "Hey did she break in to my house?!" But then I realized I am in Puerto Rico and she's probably not. Anyway, I love how you planned what you wanted but were flexible. I just moved and have had to really minimize my supplies and space, and the best thing I have learned is to be flexible!
ReplyDeleteI really liked the way you used the wall space. I'm trying to do that too but my walls are cement and even a concrete hammer drill doesn't get through the walls (however, the house makes it through a hurricane with flying colors, so I guess that's a plus!) so using the wall has really been a fiasco for me.
Great space!
Love the size of your table. I use my computer desk which sits in the corner of the living room, and it is a catch all for mail, kids school forms & homework; not to mention the computer monitor and keyboard! Congrats on all the space! I'm so envious!
ReplyDeleteI love your room. All that creative inspiration at your fingertips. I love the mason jar shelf. Love your desk island. What is the top made out of?? I love the look. Thank you so much for sharing!!
ReplyDeleteterri thank you so much for your sweet comment. Here is a link to the table top. http://craftdonkey.blogspot.com/2013/01/craft-room-renovation-part-2-table-top.html
ReplyDeleteWow!! You did an amazing job! I love the desk and those ribbon jars!! Very clever!
ReplyDeleteThis was a great read! I love that your scrap space is more like mine and not all those store bought white drawers from M's that cost so much. But you did with what you have! That is so cool!!! I got some great tips and new ideas so for that i thank you very much!!! Love your yard sticks! :-)
ReplyDelete~ Vanessa Wachlin
This was a great read! I love that your scrap space is more like mine and not all those store bought white drawers from M's that cost so much. But you did with what you have! That is so cool!!! I got some great tips and new ideas so for that i thank you very much!!! Love your yard sticks! :-)
ReplyDelete~ Vanessa Wachlin
I really like your new craft room. The new island table you have is very cool. If I could make a craft room this would be my kind of room. I like the shelf with the jars on the bottom of it. Now that was very cool and new idea I never seen before.
ReplyDeleteYour room looks really great and functional!! Your BIG table is fantastic, I picked up a couple tips I am going to add to my studio and I LOVE the gnome and penguins! :)
ReplyDeleteI don't have anything compared to you, but I can just imagine how crazy you felt during it all, but wow, it looks so nice and organized now. I love your new table. I wish I still had my type drawer, cute to have that sitting out.
ReplyDeletePam, thanks! I someday hope to have more of those type press drawers and have them in the proper storage unit. that's my dream, is all embellishments in those drawers. lol.. someday!
ReplyDeleteI love your new work table!!! Come do one for me! And we'll party!
ReplyDeletehahah you bring the booze I'm in. LOL Was just talking to the BF about how I want to make a trip down there to do some shopping.. sheesh it can't be that far.. maybe like 2 hrs.. hmmm
ReplyDeleteThank you for sharing your room and your inspiration. I enjoyed reading your planning and seeing your wonderful progress. I LOVE LOVE LOVE the type drawers-I have got to find me some of those! Happy scrapping!
ReplyDeleteThis is amazing! I love the tips. You have inspired me to get my craft room better organized.
ReplyDeleteGirl, you have a lot of stuff! LOVE the birdcage!!
ReplyDeleteI Love everything you did. It is exactly what I have to do....You did a GREAT JOB......I have to get up the motivation !!!!!!! I love your printers box, what do you actually do with it, was it just holding little things?? I have a LOVE FOR PRINTERS BOXES, I have five of them, just curious exactly what you use yours for.....I love you site too. I am a new follower, Thanks for the inspiration, Kim :0)
ReplyDeleteFabulous improvement~~love your desk. It definitely looks like the home of an artist~~
ReplyDeleteI thought I had a lot of supplies! Wow, my husband will be happy after seeing all that you have, mine is so much less. Great job on organizing!
ReplyDelete