If you don't already follow Tim Holtz on his blog... YOU SHOULD!!! His products are clearly one of my faves. He jsut posted on some wonderful flowers. He even has a video on how to make them.. 4 minutes and super simple. Remember though you can make these from his tissue tap, ribbon or other papers.. the possibilites are literally endless!!!! I love his tissue tapes though. A helpful hint if your doing it with his tapes or any other tapes is you can also springle some baby powder on the back when you are done so that the backing doesn't stick to everything. Esp. if you're like me and you like things to hang off the page such as ruffles or flowers. By putting the powder ont he back it will make it no longer sticky! You can also do this with stickers that hang off the end of a page! Enjoy ladies!
http://timholtz.typepad.com/my_weblog/2011/04/tissue-tape-ideas-giveaway.html
Tuesday, April 19, 2011
30 Minute Projects
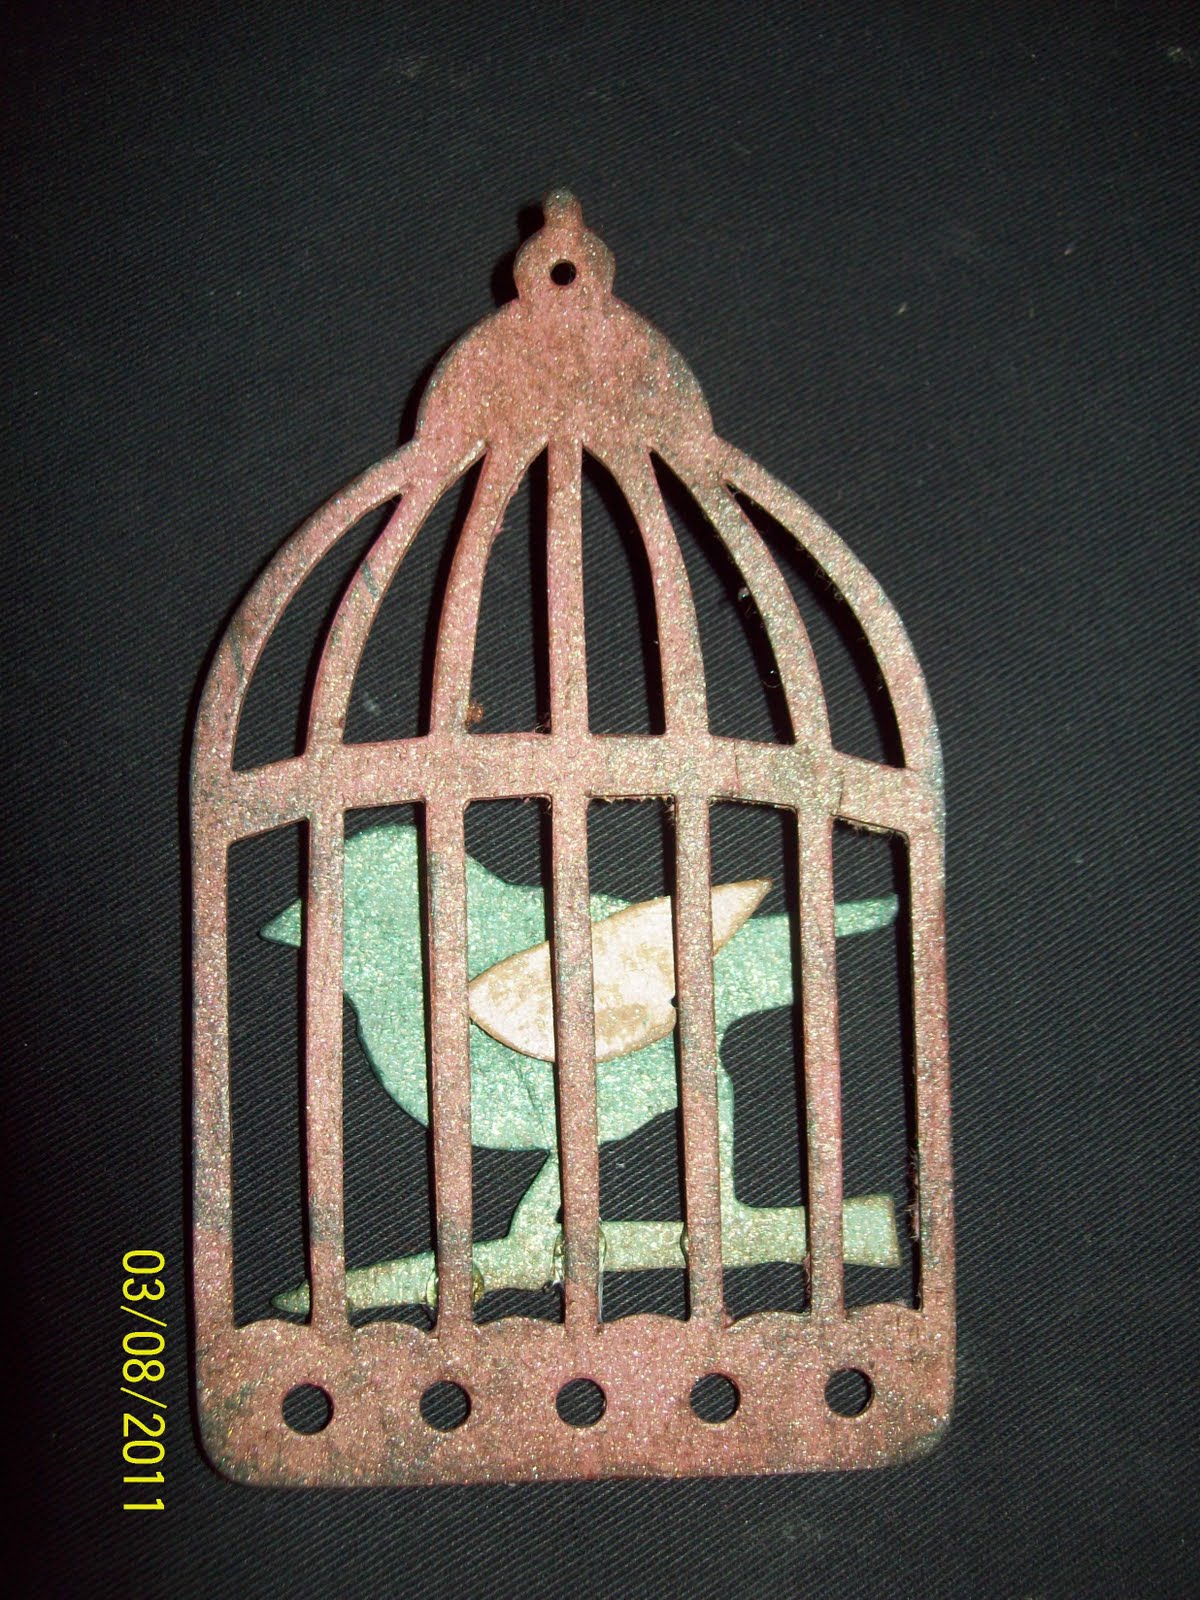
I love to post little projects that only take a small part of your day. This is a Tim holtz bird cage and sign. I die cut the birdcage from chipboard and the sign from grunge board. I just adore it and how simple it it.


The above sign is super easy. I just used some glimmer mist on both pieces and then ran some ink over the edges. I created the links chain for this piece but you could easily just buy them.


Above are two different birdcages which are both very simple. They both were just sprayed with some mists. You can use paint or any medium for this. I also when the paint was wet added some antique pages to the above one. Then ran ink over both of them. Added some jewels on one of them. Their super simple but make a HUGE impacts on a page or card or even as a decorative piece.
Tuesday!!!! ... and no progress
So, this is a guilty post. I posted last week about my scrapbooking nook. It was a mess. I'm sad to say now Tuesday it still sits in the same mannor it was in last week. I had plans to get back there.... but... ummmm... well those plans turned into me just pulling some items out to work on a Easter project for daycare kids. Then last night I figured I might jump back there and get some work done. Instead I decided on laminating some new name plates I colored yesterday for the kids.
I am at heart a procrastinator. I hate and love this about myself. Plan is to get it done today during nap time and this evening. I am going to do it. I have a new big project coming up that I am going to be working on.. well, ok three. I can't wait to begin sharing them. The probelm is I can't start until.. its clean.. ugh
I am at heart a procrastinator. I hate and love this about myself. Plan is to get it done today during nap time and this evening. I am going to do it. I have a new big project coming up that I am going to be working on.. well, ok three. I can't wait to begin sharing them. The probelm is I can't start until.. its clean.. ugh
Subscribe to:
Posts (Atom)