Okay after showcasing the shelves I vamped up. Here is a tutorial on the desk top that I created for my craft room renovation. I had this idea and then when searching things, I came across some others who also had done versions (not quite not like this but similar) to this! Score one for me. I'll share my motivation for this room in a full post after I showcase the completed room.
 |
| First I started with a 3ft by 5ft board I had cut at lowes. It was like 20 bucks and they cut if for free. I got some shelves cut from the remaining piece of the board to get the most bang for my buck. I think laid out a sheet and applied 2 layers of liquid gesso. This is amazing and if you have a thick pasty gesso you can simply add water to water it down to the consistency you want. (I did this all in my living room as I stated before I had no furnace during out nice winter storm when working on this.) |

 |
| I choose to apply the Gesso as it adds a bit of "grit" to the board. This way I wasn't too worried about sanding it down or things adhering to it. it worked perfectly! I really liked the whitewash look on it behind this next step. |
 |
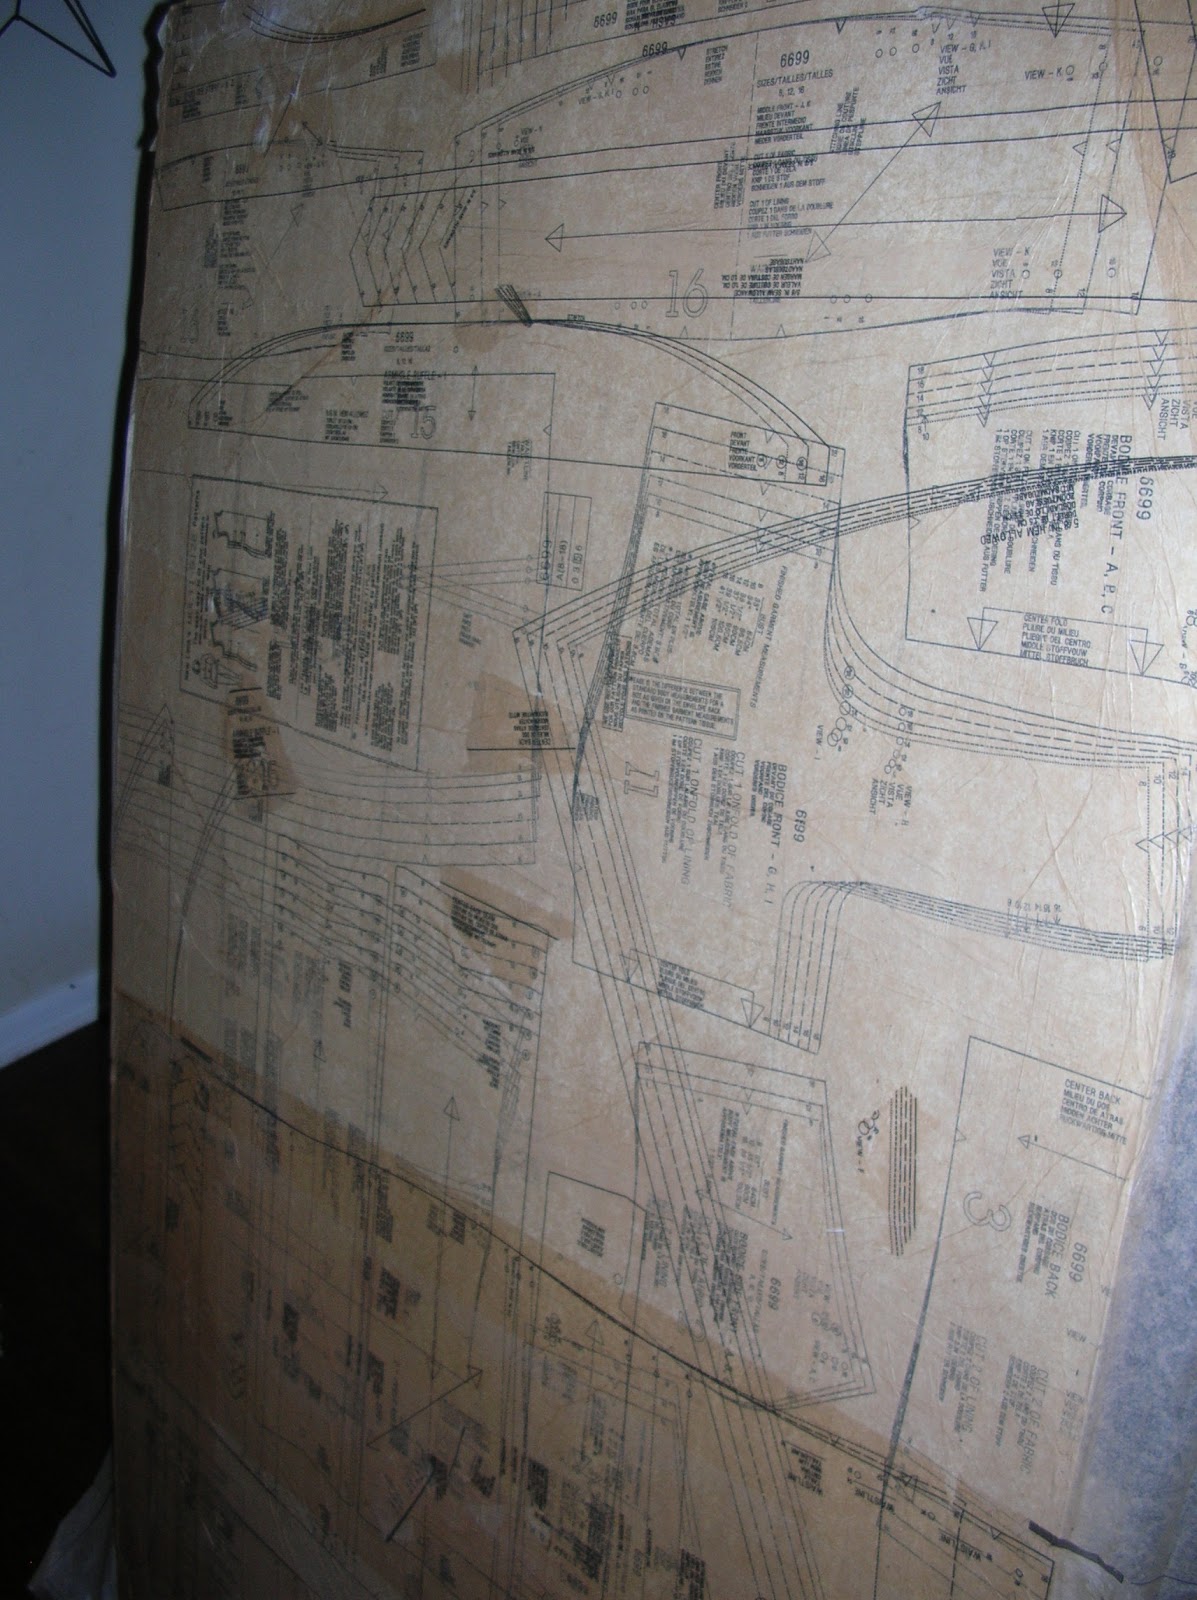
| I then took some sewing patterns. and figured out how I would want them on the board. I choose to layer them on top of one another. |
 |
| I liked layering them for many reasons. First I liked the look, second when your putting down the first layer if you happen to get any little tears or nicks you can use the next layer to cover it right up. |
 |
| For this step I just started at one end of the board and applied a very thin coat of Mod Podge. I repeat you don't need a thick layer. The tissue paper will suck it right up. Also a side note you can use any tissue paper you like for this. Even those adorable 7-Gypsies patterned tissue papers (this will cost you quite a bit more). I only did about a 4 inch strip at a time so that i could take my time. |
 |
| This is how the first layer turned out. |
 |
| I then worked from the other side layering. |
 |
| if you want to add any inking or drying to bring out some of the detail creases, now is the time to do so. I then added a good three coats of moderately thick Mod Podge. You can add some ink now if you forget before, but it would need to be Staz-on if you do. |
 |
| I added some patches here and there that I liked the wording or arrows of. |
 |
| You want to avoid large creases in the paper- when you first lay it down it's easy to pull it up and re-position- doing smaller sections at a time will help in minimizing creases. However, creases to me added some character and once you put the polyurethane on it, you won't be able to feel them. |


 |
| I let this dry for 2 days to make sure it was really dry. (it's also winter right now so not as warm for drying) After it was dry I trimmed all excess from the board and sanded along the edges. |
 |
| I then added about 8-10 layers of polyurethane. Yep, I applied a ton! Because I wanted to make sure it was well protected and lots of thin coats meant a good protective coat and a nice flat surface to work on. Just follow the direction on the can. I gave it a light sanding, wiped it down and then applied another coat and did this over and over again. Until the 5-6th coat then I just layers the stuff on and had no issues. While you may see wrinkles here I assure you their well under the coats of poly and I can't feel them at all now. That's all for today ladies and gents. Stay tuned for the final BIG REVEAL this week! With an amazing giveaway! So you had better make sure to check back frequently! If you didn't catch the post on the shelves you can find it HERE |
Very creative and it looks like it will be durable for all the crafting you are going to be doing in your newly organized room! Thanks for sharing!
ReplyDeleteVery creatived I really like how it came out. I saw your new post of what you did with it. Have to say I really like it.
ReplyDelete