Monday, May 9, 2011

Suprise.....

Yet another technique to share with you all. I have been doing this for over a year or so to add some pretty centers and to use as general embellishments. You all get a surprise as I just had a friend as my what she could do with some of her floss. I love this! Enjoy! hahah never mind the date on the pics.. I just did this in the last 10 minutes... hahah but my worst trait.... setting the date on my camera.. or my daughter gets it.. once it said pics were from 2033... lol

Do you have some of this???? Scrappers floss..... Wait till you see what you can do with it!

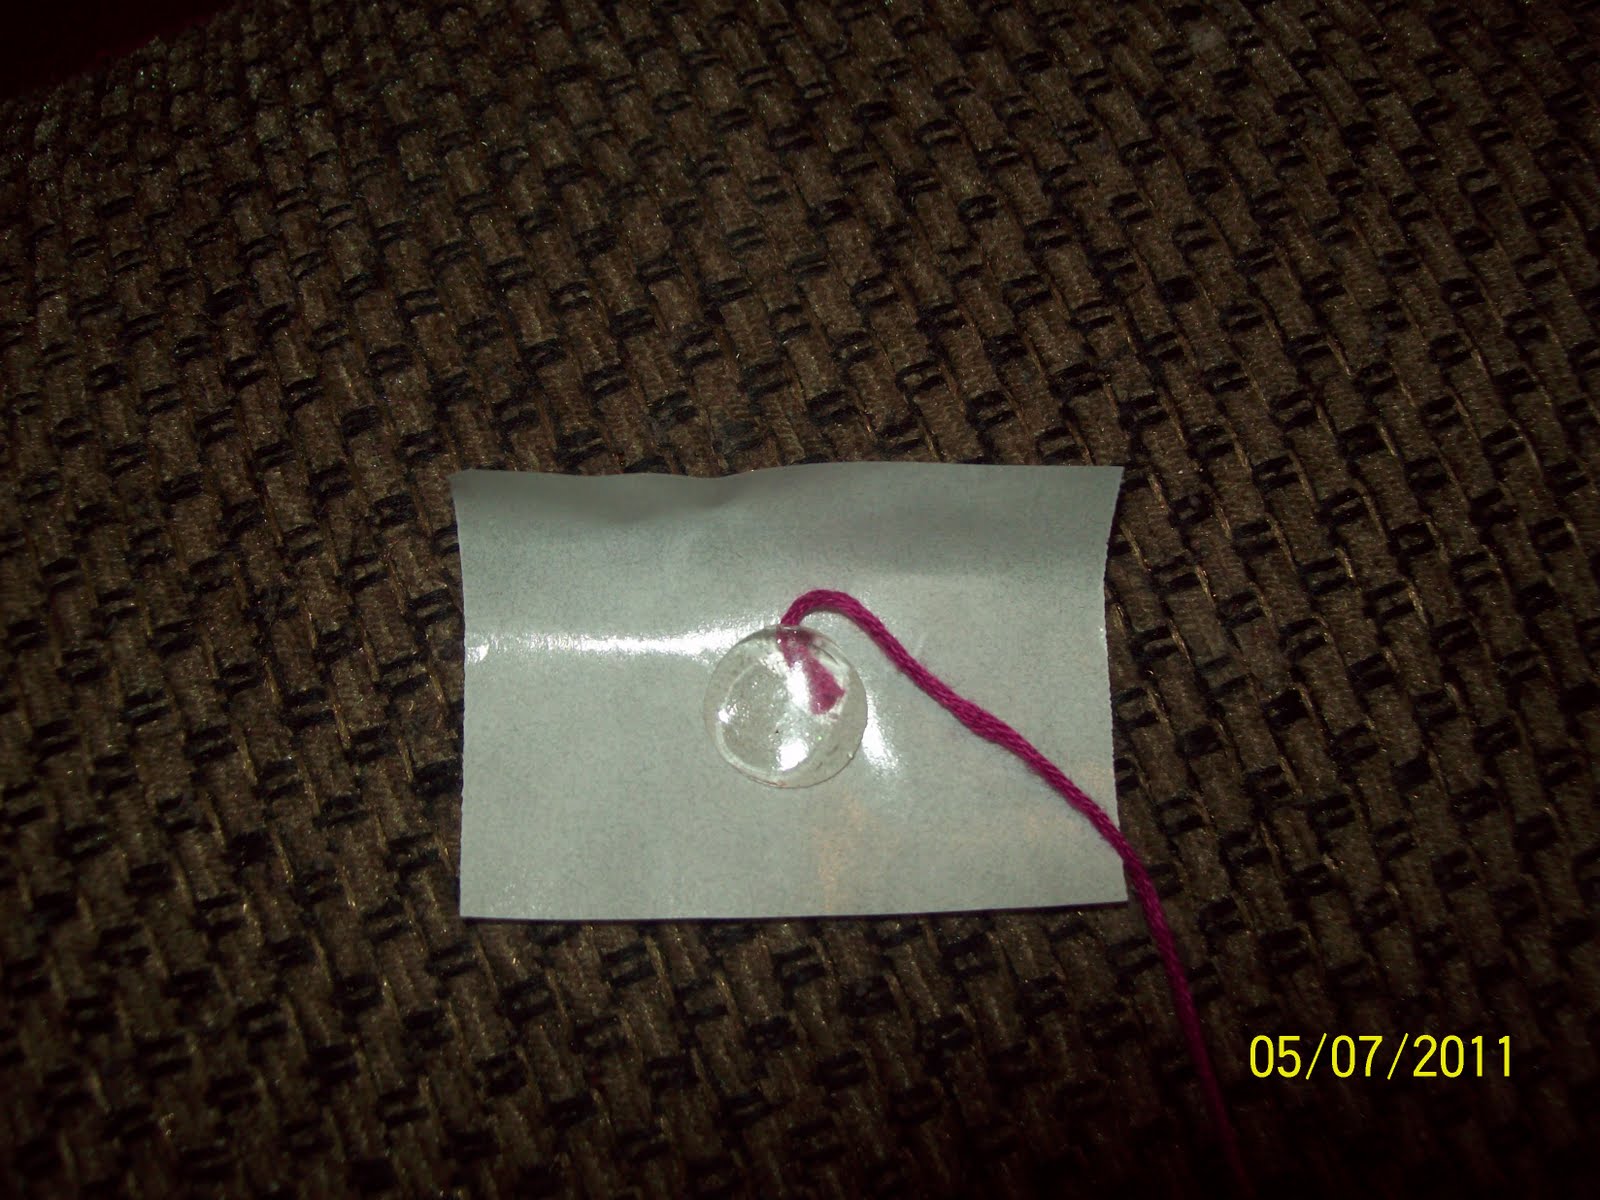
A general scrap dot... or zot or whatever brand you use! cut one out. Place some of the floss under it...

Begin at the bottom wrapping it around the dot.

Lots of options.. can do one color, or two colors or more! can add bling to the center too for added affect!

Here they are on some paper flowers! Not the best color combos... however i did this in 10 minutes and just wanted to give an example.


thanks for looking... I of course love these b/c their working with what you have.. note you can also do these with a hot glue gun. Just use super hot glue... start to let it cool... and then begin wrapping.. which takes no time at all. Their not as maluable as the dots but work well. Of course I just adore the texture these add.  hope you can use this on your future projects!

OOOOO What Fun....

Soooo, thought I would share some techniques with everyone! These are small pages from my art journal. None of these are complete.. as well I add to them over time. Hope you learn a bit and try these techniques out yourself. Their super fun!

I used this light molding paste for this first piece. i have fallen in love with the great dimension you can get form it.

Ok, so I sometimes have a hard time finding the right templates. I really wanted a flat brick template, however upon not finding one.. I did run across this texture cake tile. i was curious what I could do with it... this is what I came up with. This set also came with a woodgrain template! i hope to use soon as well on a layout I have in mind! They were super cheap too! 

I did this to show you what it looks like applied just own its own on white paper. All I did was take some of the paste onto the paper and spread it with a small putty knife. Then laid the tile over it and applied pressure. Then pulled it up. It's MESSY but I like it messy and unperfect. The possibilities are endless. You could spray this or ink this... be sure to wait abit for it to dry well before doing any of these things.

I did this one in my art journal. I added some red n black paint to the paste to acquire the red color I wanted and then avoided putting pressure on one edge to make it peak less.... see below why I did this. It's ubber messy, however i will state this was soo simple my daughter helped with it... lol.. hence the messier aspect of it...  lol 

This is it when dried and I added a quote I just adored. It still needs a bit more but on its start. I'm good at starting and finishing them later when i run across something great.

This is another type of paste.. only it feels like sand.. love it!!!

This is a normal template sheet. I used this with the sand textured medium. I painted the background black.. and then mixed some of the texture with pink paint.

I then spread it over the template where I wanted it. Use nice thick amounts. This way you ensure no stroke marks.  

Lift it gently. Let it dry and then have your way with it. I love the texture it brings. LOVE LOVE IT. I added a quote I like as well and then well it still need some more done to it.. but I love a nice background to work from ready for me whenever I come up with something great.

I gave this background a nice splash of green paint and then laid down some painted tape carelessly torn. Spread the putty, and then to add more peaks I took a paint brush and dabbed it to get the look I wanted.

Pull up the tape when done.. there's a smudge here where I got under the tape.. simply take your finger and wipe it away.

Let it dry all the way and then I added some goodies to spice it up.

Remember the giveaways!

Just a reminder that this month I am givivng away many goodies.. the biggest would be the Prima Botanical collection. Which will include but not limited to.. all of the double sided 12x12 papers, silk and paper flowers, baubbles, bling, glittered chipboard pieces, 12x12 sheet of cardstock stickers and more! You can see the collection here!

http://www.primamarketinginc.com/index.php/products/collection-1/botanical.html

Also, remember those adorable flowers made last week are up for grabs as well.. will draw a winner for them on wed. of this week. Simply become a follow of the blog and leave a comment! Happy scrappin ladies.

I have a great new tutorial to show u all.. will get it posted tonight!