OOOO I have some fun things to share for motivation this morning. Everyone knows I'm all about using what you have on hand. For example, while a Clip it up is wonderful... (lol I have it in 2 varieties), not everyone can afford to purchase one of these. For instance, if I didn't have them already at the juncture I would not just be able to go out and buy them. So, over this weekend I began sorting my vintage laces. I looked at my Clip it up's. Wondering if maybe I could re-organize the existing clip up system I have to somehow incorporate my laces.
If your anything like me then your always looking for creative fun ways to display and organize your scrap room. Whether it's the living room table or an entire room. Here's a cheap way to create a clip it up of your very own! I did use actual clip it up clips, however they are ubber cheap and can be ordered on your own. So, remember when your really wanting something, but not in a place to buy it or just want to save on funds.. look around!!! See what you can use! Do you have anything you have re-created to fit your needs? let me hear about it! Below are two tutorials of things I create to store my some of my overwhelming laces and some stick pins storage as well! Enjoy & get motivated! Use what you have! And if you don't have it take a trip to the hardware store or Wal-mart and look around for ubber cheap ways to get the same effects! You'd be surprised what you can come up with.
 |
| Here I used two metal ka-bob sticks! Don't have these sticks, there's another solution, you could use hangers! I like these ka-bob sticks because they look pretty and are alot longer than a hanger. |
 |
| I then overlapped the pokey metal ended. |
 |
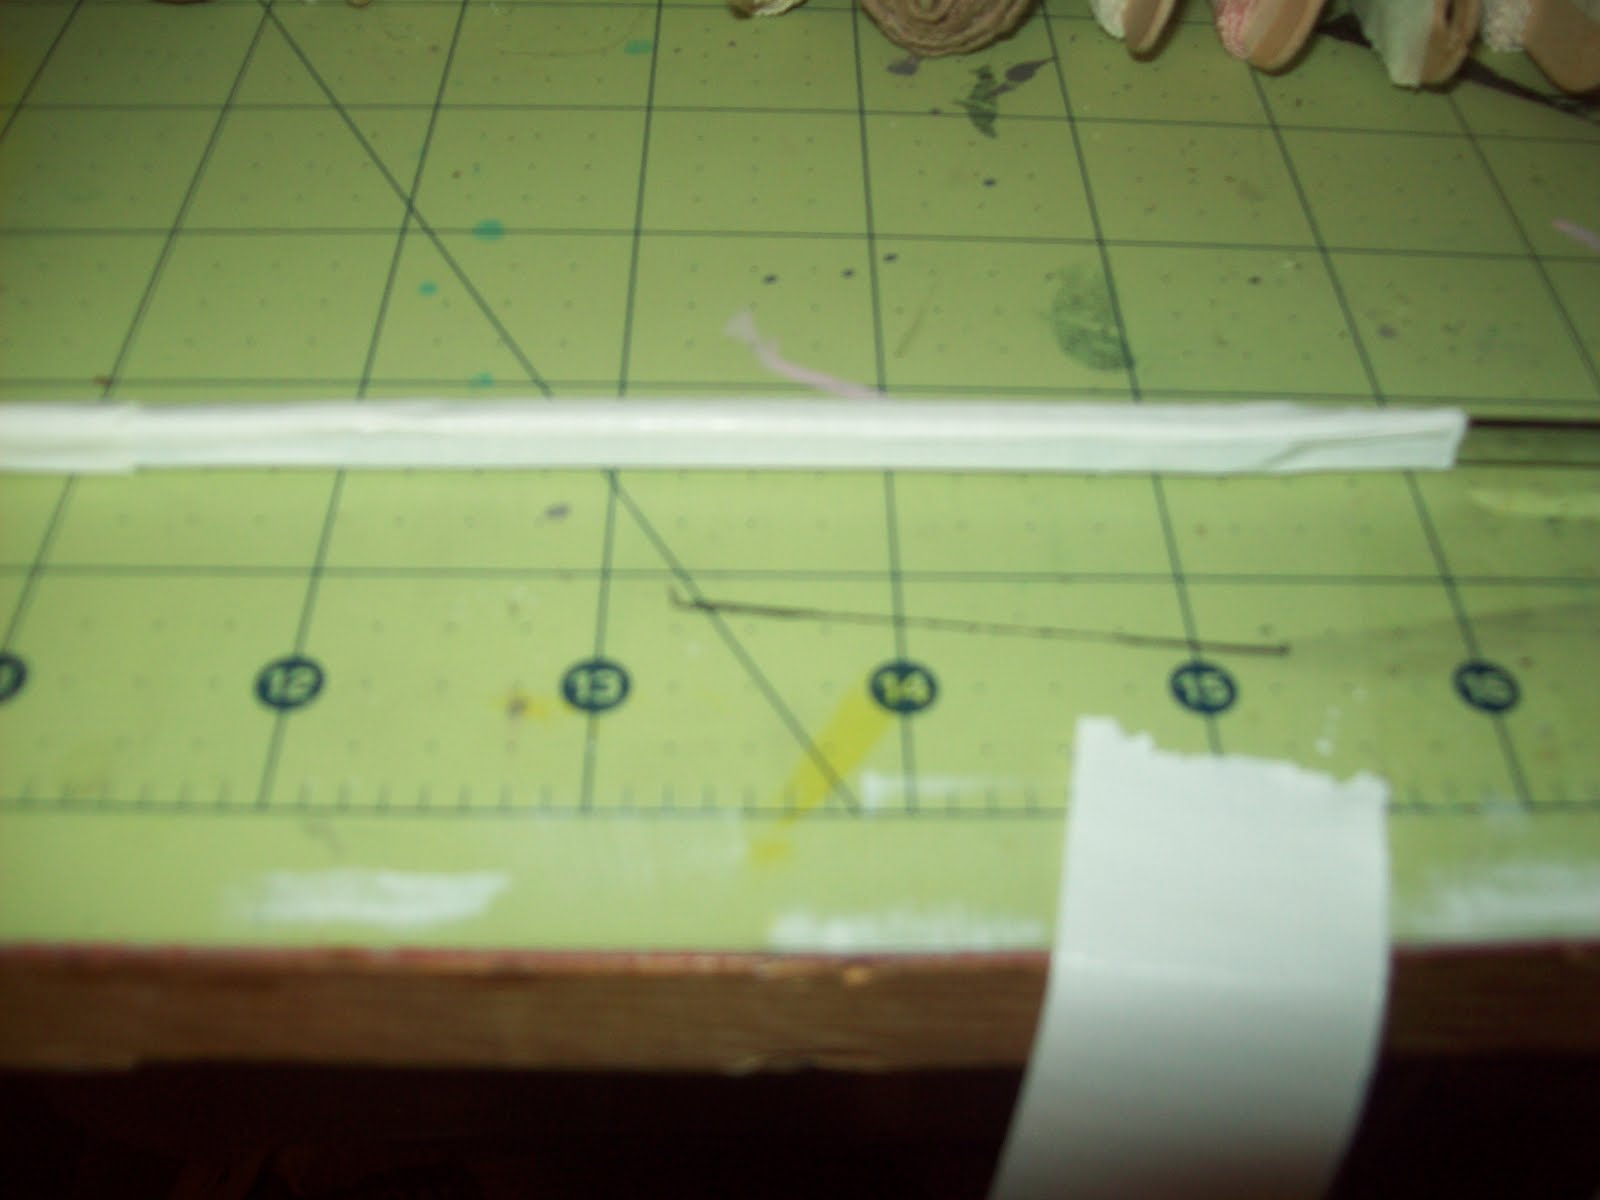
| I then took some white duct tape. Tear the tape in half. If you use too much tape the clip it up clips will not slide on and off of it easily. |
 |
| Begin wrapping the tape at the center where the two points overlap, then work your way out to each end. (helpful hint: slightly overlap each section of tape.) Could also use a fun pattern duct tape! |
 |
| When you have completed all of the tape, ensure it is nice and strong and secure. I did a few bends on it to ensure it would take the weight and stress of the bending from the weight. |
 |
| I then took a low gauge metal wire. Could also use a ribbon. |
 |
| I did a pull thru knot on each end. |
 |
| Then knot the two ends together and then twist night and tight. |
 |
| Here is my cheapo way to keep the laces nice and neat. I took tongue depressors.. that I have billions of and used masking tape to tape them together, then wrap laces around and adding the rubber band to ensure they don't unravel. I also used a small piece of tape as well. |
 |
| I then hung a nail. You can hang from the wire or from the holes in the ka-bob sticks! I just love how shabby and sweet this looks. Instead of wire you could also use a strong ribbon to add more texture and color! I still have another 3 or so of these to make to get all my laces up.. but I think it's going to be sooo cute when I get them all done! |
Stick Pin Storage
 |
| Here I used Styrofoam balls of varying sizes. I took a large ball and stuck it through a ka-bob stick. |
 |
| I then glued the ball to two pieces of chipboard secured together. Helpful learned hint: paint all balls and chipboard before gluing anything. |
 |
| (sorry it is not straight up, but uploaded it not thinking about it) This is what it looks like thus far! |
 |
| Here is the finished project. I love this funky way to display my pins. I know you could go with something more streamlined. However, I think this is soooo fun and funky and full of eye appeal for my room! I have plenty of room to grow with this as well. |


this turned out awesome!!!! love it!! the stick pins are so cute!! Doris
ReplyDeleteparkernana5@cox.net