Christmas items have been on my mind lately. Trying to get things in order BEFORE the day itself. I do not think I will keep this project- think I'll sell it... not too sure yet. I love it, I do. It's just we don't really use advent calenders.
 |
| A Pick'N Time is where I found this great house at one heck of a steal! Check out their site. They accept paypal and come up with all sorts of odd and unusual things. This is the BEFORE SHOT! |
 |
How'd that get in there?!?!?! Hee Hee
Go Steelers! By the grace of God they won last night! |
Okay back to business. A minute to say something about this collection! It's just amazing. I love it, so many possibilities and things you can do with it. Ranging from cards, layouts, mini books, etc.
In the spirit of making things and giving things. I've decided to offer this lovely collection pictured here as a giveaway!!! One lucky winner will win this great collection December 10th! Contest closes 12/05/12.
All you have to do is share a Holiday project of yours. Anything and everything can be used. Layout, card, off the page project. Simply add your project off in the sidebar. I can't wait to me motivated by all of your creative wonderfulness.
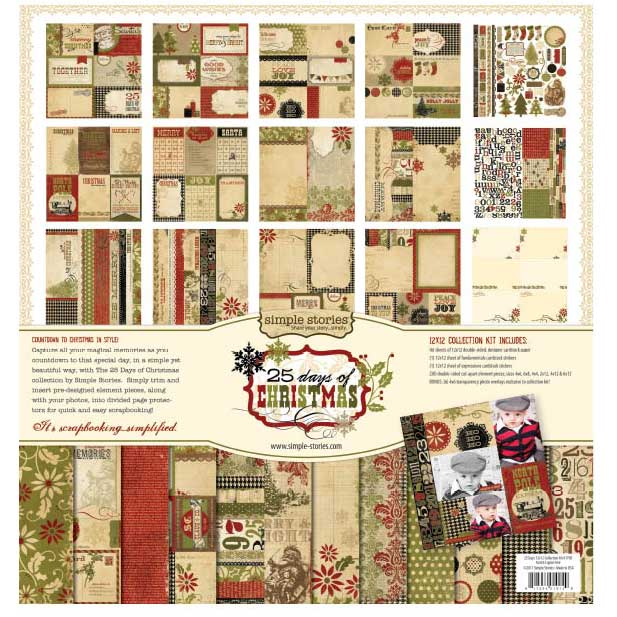 |
| This is the lovely collections I used. I included a bit of Tim Holtz, and some inks, however all papers used were from this Simply wonderful line that I happened to have on hand- knowing I loved it! They were just waiting for a home. Lucky for me I also had purchased the cardstocks stickers as well. |
 |
To check out other great creations check out Simple Stories blog!
http://simplestories.typepad.com/simple_stories/ |
Okay onto the project!
 |
| I own quite a few cake molds, that I just adore for crafting purposes. I've used these bricks many times. this time I used them on a white play dough! That's right play dough! I keep this on hand as you never know when you will need it. I used the mold and ran a rolling pin over it and then turned it horizontal and used it again to make a special looking brick design. |
 |
| Aren't these just adorable. I let them dry for about 24 hrs. Then dry painted over them with a mixed red and brick red paint to get just the right color. I cut 4 - 2 x 3 inch pieces to create a fire place chimney. |
 |
| I then cut lots of random pieces from the Simple Stories Collection. At this point I did not adhere anything. I just began to ink and cut pieces for each area of the the house. Trying out different pieces to see where I wanted them and how I liked the look. |
 |
| At this point I struggled with whether or not to paint the house or to use tissue tape or paper or to leave the wood showing through. I began moving on with other pieces while trying to figure out the character I wanted the house to take on. |
 |
| I cut many pieces and inked them up to use on the house. |
 |
| I went ahead and glittered little pieces here and there that I knew I'd want glittered and would be easier to do so before they were adhered. |
 |
| Anything I had hand cut out from the papers that I wanted to use as an embellishment I added a layer of Mod Podge to both sides to make it more sturdy. For this adorable mini banner I coated it twice for added protection. |
 |
| Here is my custom play dough and foam chimney, as well as a custom wreath and tree I made. Day 1 is shown as well in the top section of the house. The wreath was simple enough cut a piece of pre-snowed wreath I got for a dollar at Dollar General some time ago, made it smaller, added a bow, then adhered a sticker behind it to show through. The little trees you see here were originally part of much larger trees, I just cut the tips off the tops of them to make miniature trees. |
 |
| I made sure that each section of this calendar had something POPPED off the page. You may not be able to see them all there, but I love how each box had something special and unique to offer. |
 |
| I really wish I could better show all of the layers and pieces that pop, bend and move in these sections. |
 |
| Love all the little pieces I was able to incorporate here. Like behind the 24 stamp number is another piece of play dough that I also ran through an embossing folder and allowed to dry then inked up. Adds a little something to it. |
 |
| I still have some little village people that I plan to add to it as well as some small gifts into this top section. However, I'm still working on them. |
 |
| A little Hambly Screen Prints added to the top section. just love those deer. |
 |
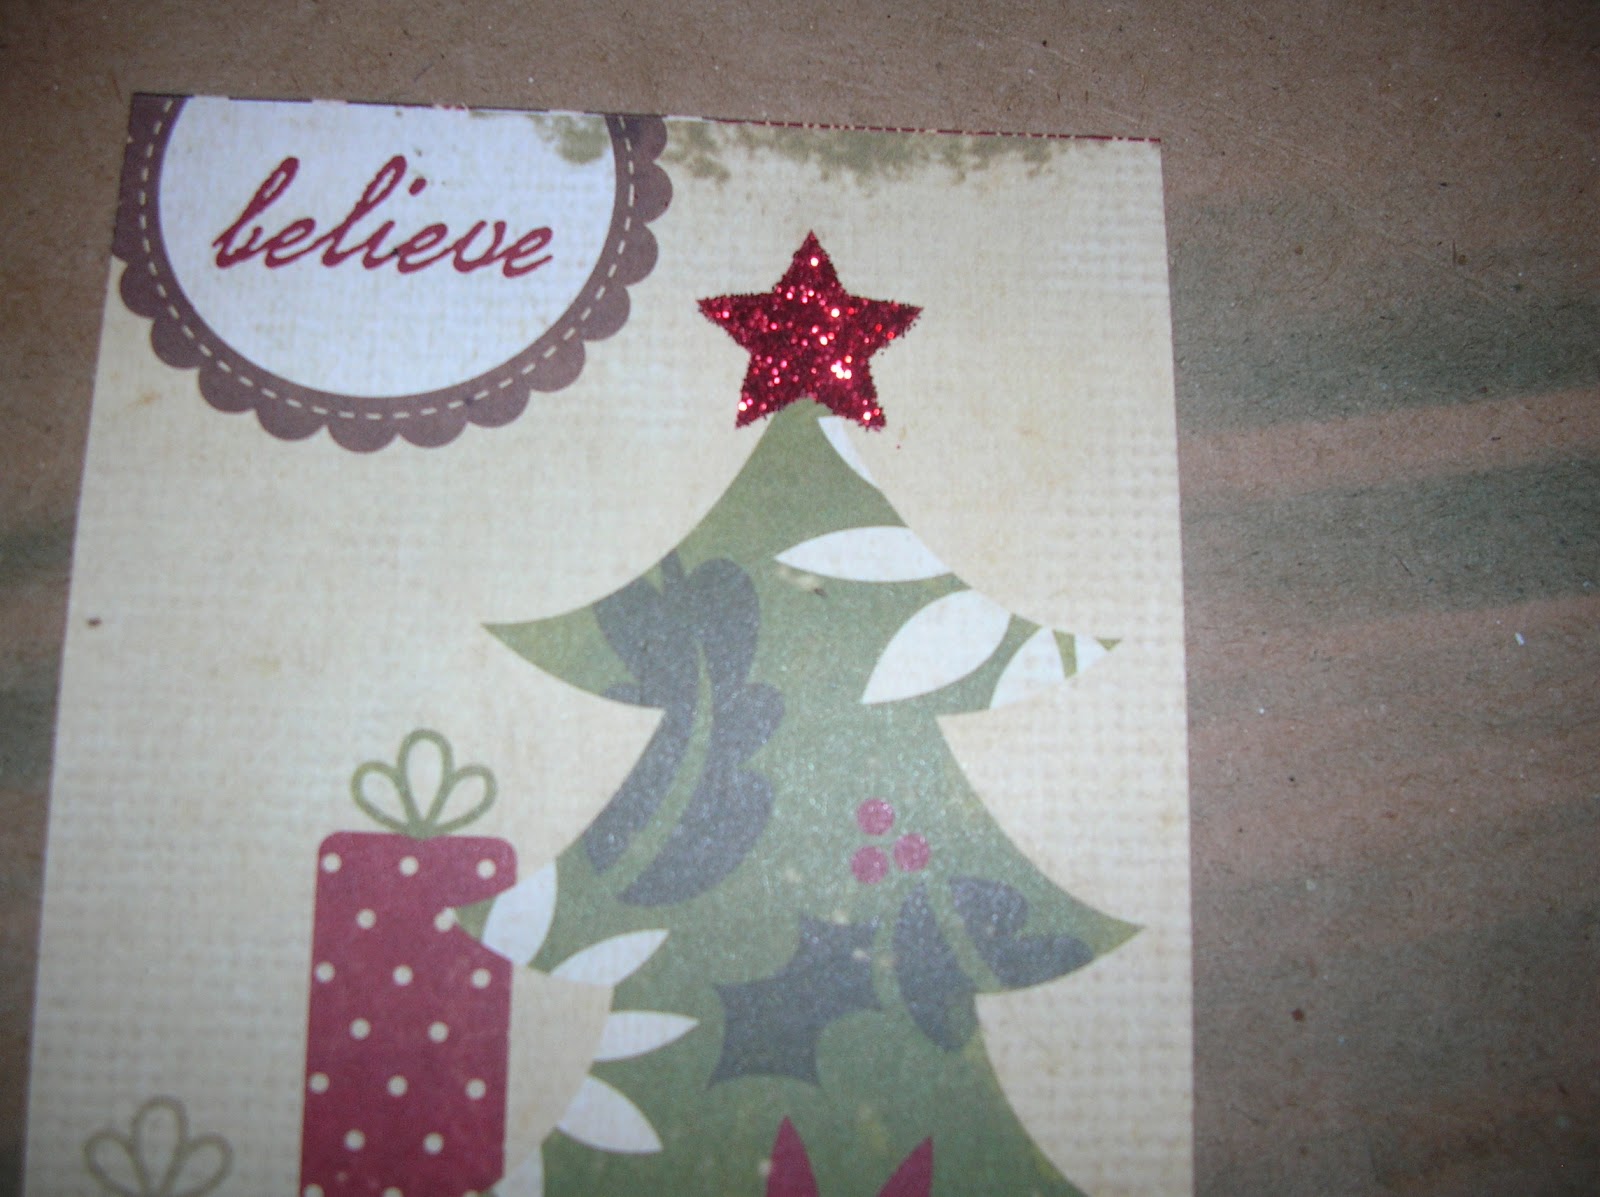
| In the 25 box, I layered the Christmas Tree as well as the presents to add more depth to that box. I also glittered both tree's stars. |


ADORABLE!
ReplyDeleteLOVE it!!!!!!!! wish I could find a house like that
ReplyDeletewow, i can see how much work has gone into this, Not a big xmas fan here but that is one cool make.
ReplyDeleteI love christmas I can see how much work you put in to this. Really nice.
ReplyDeleteAbsolutely charming! Christmas is my favorite holiday and love this beauty.
ReplyDeletewow this project is awesomely gorgeous!!!
ReplyDeleteAbsolutely breathtaking! I love each and every detail you added. Great choice to leave the wood show through. Elegant and beautiful! Anyone would be privileged to have this as a holiday decoration in their home.
ReplyDeleteI am working on my own advent calendar & stumbled upon your photos on Scrapbook.com - this is absolutely beautiful! Thanks so much for sharing your process!
ReplyDelete:) Molly